Before installing travertine pavers around your swimming pool, one should make sure that they are done with swimming pool tasks. Once this has been done, the surface area is made smooth using a rake ensuring that it is flat and level. Further excavation should be made if the depth of the area is less than 4-6 inches. Height is an important factor in this factor so it should be measured carefully. Also THINK about drainage solutions.
Compaction is a process in which the road base you purchased ( from Sand & soil outlet) of the area is made compact and smooth using a compactor which is easily available in large hardware stores. This will make the area ready for the pavers to be installed. After making the soil ready, installers prepare the base to install travertine pavers finally. The type of the base depends on the type of travertine being used and the area/climate situation. Commonly used materials for preparing bases are cement, crushed stone, sand and mortar. We STRONLY suggest installing a concrete slab of at least 100mm around the perimeter of the pool beam allowing for an expansion joint between the two areas.
The next stage in the process of travertine pavers’ installation is to decide in which pattern your pavers will be installed. It is always recommended to start laying pavers in a left to right order. Also, you should start from a faraway corner so you work your way backward. You should lay the pavers one by one in a continuous line. The best way to make sure that pavers are being installed in a straight line is to use a string. Also, as you install a paver, use a soft hammer head to ensure it is compacting and level onto the base.
Next and final step in paver installation cycle is to cut them where required and fill the joints. Colour matched travertine grout considered as the best material to fill in the gaps. Remember to wash excess grout off thoroughly within 5-10 minutes of grout being applied all over the face of the travertine.
Here are some useful tips which you should follow to make sure that your travertine paver installation is as smooth as possible.
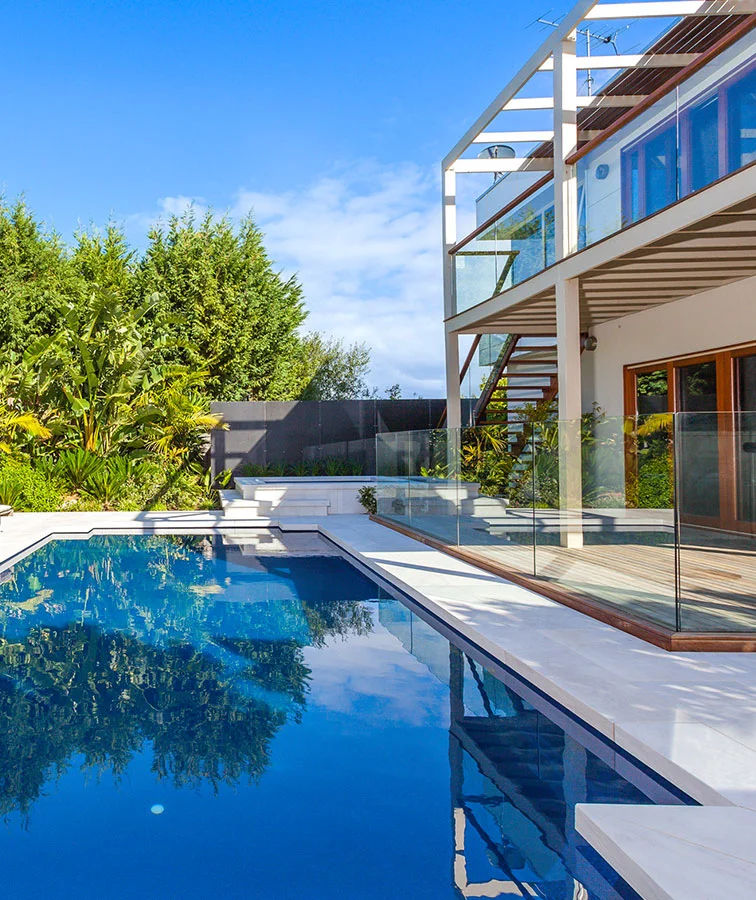
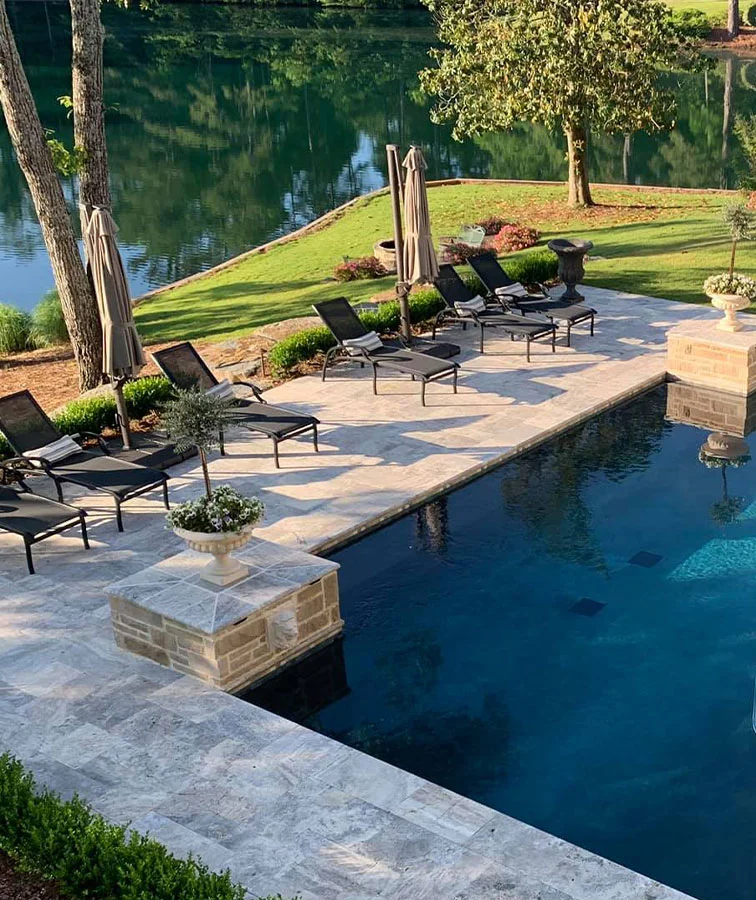
As travertine is a natural material, it will cost you a bit more in the start but in the long term, it will give you a lot of benefits. For example, travertine installation at your house will increase the property value of your house, and you’ll get a good resale value.
Travertine in the in Australia was once in the realm of affluent people BUT since the introduction of travertine into the product range of our MAJOR stone companies ( once only stocked by ceramic tile shops) the price has come down DRAMATICALLY.
The cost of travertine in a certain area depends on many factors. Some of these factors are:
On average, travertine tiles and pavers cost is $54m2 – $69m2 inclusive of GST
As travertine is a affordable, long lasting paving alternative, you should always consider a few factors before purchasing your Travertine tiles and paverss for paving around your pool. Some of them are:
We hope considering these factors will help you during the process of travertine pavers and you’ll be able to get right product at right price.
By now as you know a lot more about travertine tiles and pavers, installation and cost, you should go ahead and make a wise move. Get your travertine installed today and decorate your pool with this amazing stone. Do not forget to follow all above tips. Following garmash these tips will not only help you maintain your stone for a longer period of time but it will also retain its shape and color. Also, do not forget to contact us back in case of any query. We’ll be more than happy to assist you in this regard.